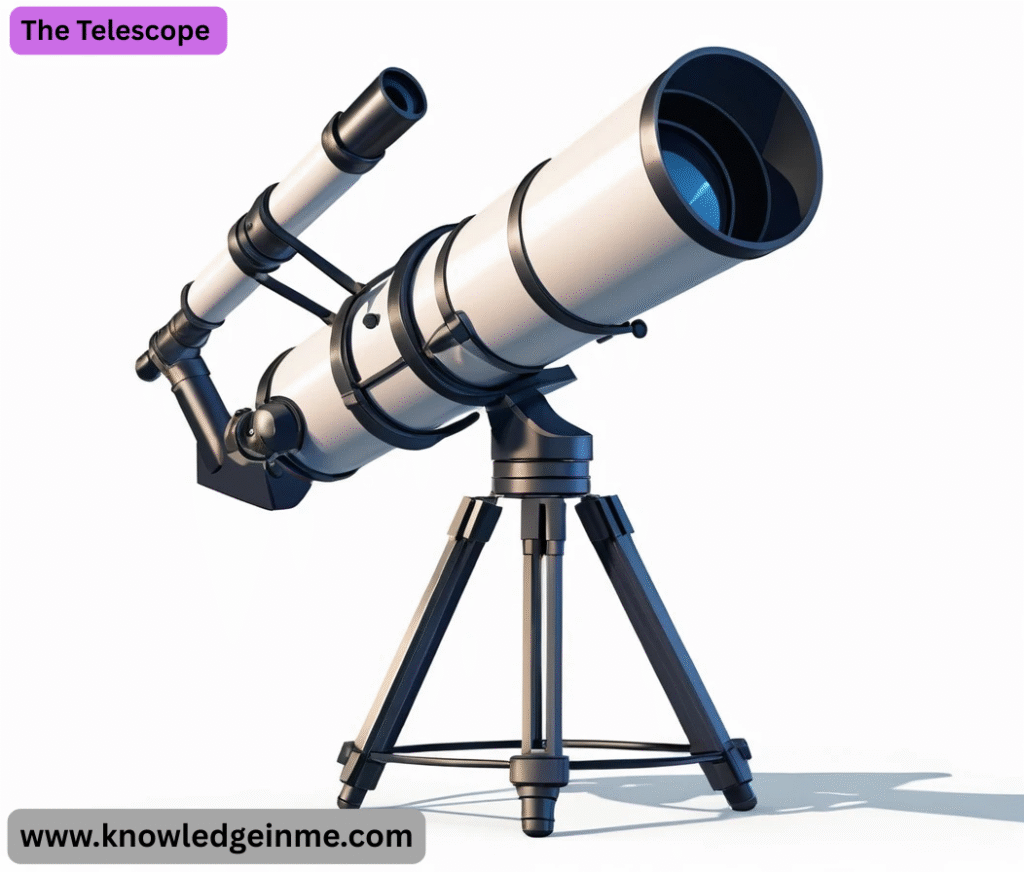
The Telescope Its core purpose is to make faraway things appear closer and brighter, allowing us to see details invisible to the naked eye. While most people associate telescopes with astronomy (viewing stars, planets, and galaxies), they are also used for terrestrial viewing (on Earth), navigation, and scientific research.
- Collect Light: Its large primary lens or mirror (the objective) gathers significantly more light than the human eye. This allows us to see faint, distant objects.
- Resolve Detail: It provides a magnified and clearer view, allowing us to see finer details on planets or split close-together stars.
How Do Telescopes Work?
- All telescopes work on the principle of collecting light through an objective and then using an eyepiece to magnify the focused image for the viewer.
- There are three main optical designs, each with its own advantages:
Refractor Telescope (Uses Lenses)
- Principle: Uses a large convex glass lens at the front of the tube (the objective lens) to bend (refract) light to a focal point at the back of the tube.
- Pros: Rugged, low maintenance (closed tube protects optics), excellent for viewing planets and the moon (high contrast), quick to set up.
- Cons: Generally more expensive per inch of aperture, can suffer from chromatic aberration (color fringing), heavy and long in larger sizes.
- Best for: Beginners, lunar and planetary observation, terrestrial viewing.
Reflector Telescope (Uses Mirrors)
- A small, flat secondary mirror then directs the light out the side of the tube to the eyepiece.
- Pros: Most affordable design per inch of aperture, no chromatic aberration, excellent for viewing faint deep-sky objects (galaxies, nebulae).
- Cons: Open tube requires occasional optical alignment (collimation), generally not suited for terrestrial use (image is upside down), larger models can be bulky.
- Best for: Beginners on a budget, deep-sky astrophotography, those seeking large aperture.
Catadioptric Telescope (Uses Lenses AND Mirrors)
- Principle: A hybrid design that uses a combination of mirrors and corrector lenses to fold the light path. The most popular types are the Schmidt-Cassegrain (SCT) and Maksutov-Cassegrain (Mak).
- Pros: Very compact and portable for their aperture, versatile for both planetary and deep-sky viewing, excellent for astrophotography, closed tube.
- Cons: More expensive than reflectors, can have more complex cooling requirements.
- Best for: Intermediate to advanced users, astrophotographers, those needing portability and power.
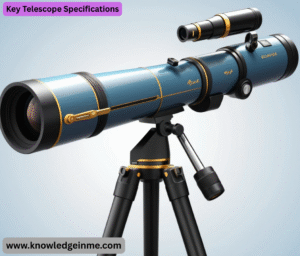
Key Telescope Specifications
When choosing a telescope, understand these three critical terms:
- This is the most important specification. A larger aperture collects more light, allowing you to see fainter objects and finer details. Don’t be fooled by high “magnification” claims—aperture is king.
- Focal Length: The distance light travels inside the telescope before it comes to focus. A longer focal length generally provides higher potential magnification.
- A lower number (e.g., f/4, f/5) provides a wider field of view and is faster (better for faint deep-sky objects). A higher number (e.g., f/10, f/15) provides a narrower field of view with higher magnification (better for planets and the moon).
- Magnification (Power) is not a fixed property. A single telescope can have many magnifications by using different eyepieces.
A Brief History
- 1608: The telescope is invented in the Netherlands, with Hans Lippershey often credited.
- 1609: Galileo Galilei dramatically improves the design and is the first to point it at the sky. His discoveries (Jupiter’s moons, Saturn’s rings, lunar craters, sunspots) revolutionized astronomy.
- 1668: Isaac Newton builds the first practical reflecting telescope to solve the problem of chromatic aberration in refractors.
- 20th Century: The development of massive reflectors like the 200-inch Hale Telescope at Palomar Observatory pushes the boundaries of the observable universe.
- 1990-Present: The launch of the Hubble Space Telescope and, more recently, the James Webb Space Telescope, freed astronomy from the distortion of Earth’s atmosphere, providing breathtakingly clear images of the deepest cosmos.
Beyond Optical Light: Other Types of Telescopes
- The universe emits more than just visible light. Modern astronomy uses telescopes designed to detect other parts of the electromagnetic spectrum:
- Radio Telescopes: Large dish antennas (e.g., Arecibo, ALMA) that detect radio waves from pulsars, quasars, and the cosmic microwave background.
- X-ray & Gamma-ray Telescopes: Orbiting observatories (e.g., Chandra, Fermi) that detect high-energy radiation from black holes and supernovae.
- Infrared Telescopes: Space-based telescopes (e.g., Spitzer, James Webb) that peer through dust clouds to see star-forming regions and the most distant galaxies.
Getting Started with a Telescope
If you’re new to astronomy, remember:
- Start with your eyes. Learn the major constellations first.
- Then use binoculars. They are an excellent and affordable tool for learning the sky.
- Choose a telescope for its aperture and stability, not its advertised magnification. A small, well-made telescope on a solid mount is better than a large, wobbly one.
- Manage your expectations. Views through an amateur telescope will not look like the colorful long-exposure photos from Hubble. The beauty is in seeing the reality of these objects with your own eyes.
Beyond the Basics: Key Concepts & Considerations
The Mount is Half the Telescope
- A common beginner mistake is to focus only on the optical tube and ignore the mount. A wobbly mount makes observing frustrating and impossible for photography. There are two main types:
- Alt-Azimuth (Alt-Az): Moves up-down (altitude) and left-right (azimuth). It’s the most intuitive design, like a camera tripod. Simple and great for visual observing. Many computerized “Go-To” telescopes use this design.
- Equatorial (EQ): More complex but essential for serious astrophotography. One axis is aligned with Earth’s rotational axis (pointed at the North Star, Polaris).
Understanding “Go-To” and Computerization
- Many modern telescopes come with computerized hand controls.
- What it is: You perform a simple alignment procedure, and then the hand control can automatically slew (move) the telescope to thousands of pre-programmed celestial objects.
- Pros: Fantastic for locating faint objects quickly. Great for beginners who might get frustrated star-hopping.
- Cons: More expensive, heavier, requires power (outlets or batteries), and adds setup time.
The Critical Role of Eyepieces
- The telescope’s optical tube creates an image. The eyepiece is what magnifies it. A single telescope can have a wide range of magnifications by swapping eyepieces. Key eyepiece specs:
- Focal Length (in mm): The smaller the number, the higher the magnification. (e.g., A 10mm eyepiece provides more magnification than a 25mm eyepiece).
- Apparent Field of View (AFOV): How “wide” the window feels when you look through it. A narrow 50° AFOV feels like looking through a porthole, while a wide 82°+ AFOV feels like a panoramic window into space.
Essential Accessories
- Finderscope: A small, low-power telescope mounted on the main tube. You cannot use a telescope effectively without one.
- Barlow Lens: A cost-effective multiplier. A 2x Barlow lens doubles the magnification of any eyepiece you put after it (e.g., a 25mm eyepiece acts like a 12.5mm).
Filters:
- Moon Filter: A neutral density filter that cuts down the blinding brightness of the moon, making details easier to see without eye strain.
- Light Pollution Filter (LPR): Helps block the sodium glow from city lights, improving contrast on nebulae.
- Planetary Filters: Colored filters (e.g., #80A blue, #21 orange) can enhance specific details on Jupiter’s bands or Mars’s surface.
Astro photography: A Whole New World
- Using a telescope for photography is a complex and rewarding hobby that requires specific gear:
- The Gear: You need a very solid equatorial mount with a motor drive for tracking. You attach a DSLR, mirrorless camera, or a dedicated astronomy camera to the telescope (which now acts as a giant telephoto lens).
- The Process: It almost always involves taking very long exposure photographs (sometimes minutes or hours for a single shot) and then stacking and processing dozens of those images in software to pull out incredible detail.
- Warning: Astro-photography (AP) has a steep learning curve and can be significantly more expensive than visual observing.
Practical Advice: What to Really Expect
- You will not see Hubble-like images. This is the most important point to manage expectations. Through an eyepiece, you see in black and white (our eyes’ night vision is not color-sensitive). Galaxies and nebulae will appear as faint gray smudges. The beauty is in the knowing—you are gathering photons that have traveled for millions of years to hit your retina.
- Planets are where the visual “wow” is. You can see the rings of Saturn, the cloud bands and moons of Jupiter, and the polar ice caps on Mars. These are breathtaking sights in a modest telescope.
- “Aperture Fever” is real. The desire for a bigger telescope is a common condition among astronomers. More aperture truly does show you more.
- Your worst enemy is your location. Light pollution from cities is a major obstacle. The best upgrade for any astronomer is a drive to a dark sky site.